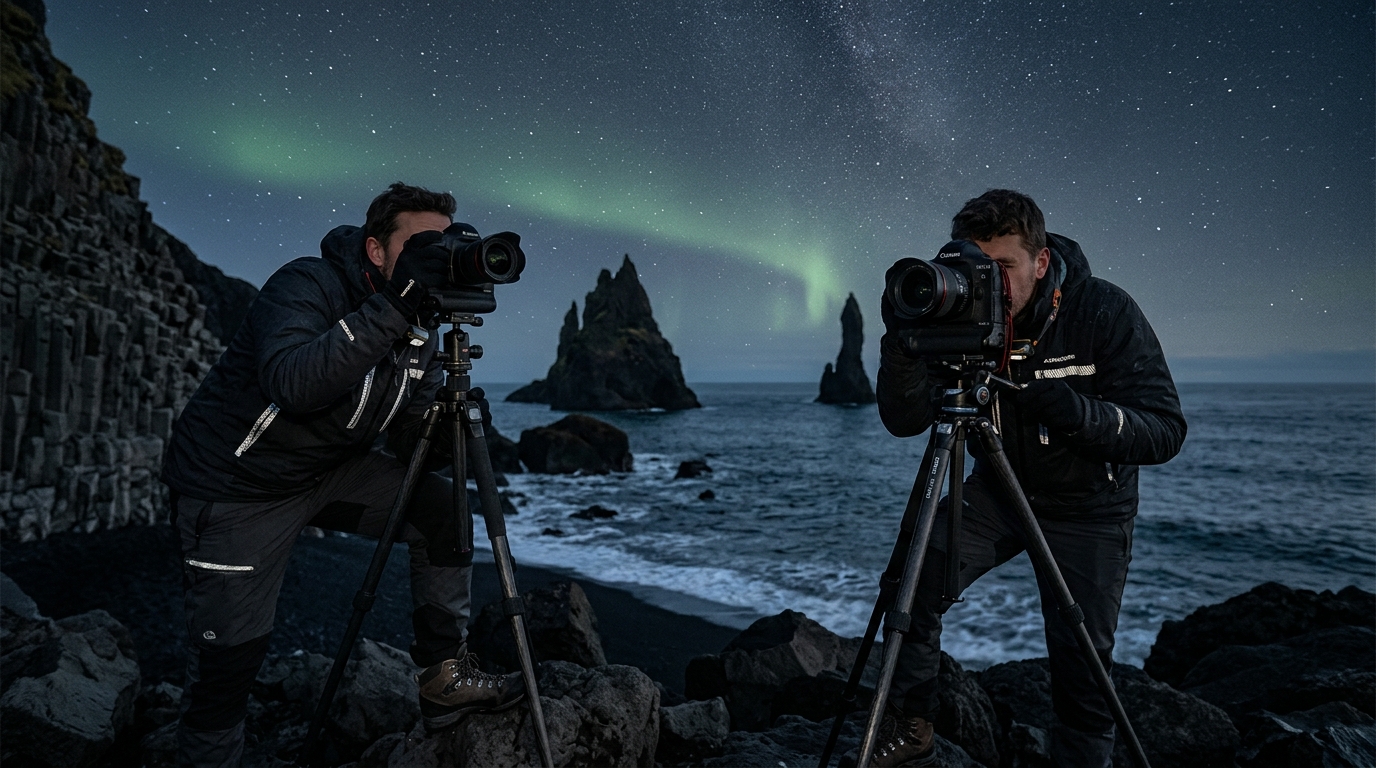
Mastering **Iceland photography night sky composition** requires moving beyond the simple act of pointing a camera upward to capture the aurora or the Milky Way. By balancing the immense scale of the Icelandic landscape with the ethereal movement of the heavens, you transform a technical capture into a compelling visual narrative that tells the story of the Arctic night.
The Philosophy of Iceland Photography Night Sky Composition
The true challenge of night photography in Iceland is defining the relationship between the vast, often hostile Icelandic landscape and the celestial dome. Many beginners focus exclusively on the sky, resulting in images that lack context and grounding. To create professional-grade work, you must treat the foreground as an equal partner to the stars. Scale is the most important factor in this discipline. Without a recognizable object—a jagged mountain ridge, a solitary church, or a towering basalt column—the vastness of the sky loses its impact. The human eye craves a frame of reference to understand the sheer magnitude of the universe above. By shifting your focus from the "sky-only" approach to a narrative-driven composition, you invite the viewer to stand where you stood, feeling the weight of the earth beneath their feet and the infinite reach of the galaxy above. This balance is what separates a snapshot from a portfolio-worthy image. According to Nature TTL, incorporating strong foreground elements is essential for creating depth and interest in wide-angle night photography.Selecting Foreground Elements for Night Shots
A successful night composition relies on high-contrast subjects that anchor the frame against the low-light environment. In Iceland, you have a wealth of geological and architectural features that serve this purpose perfectly.- Architectural Anchors: Structures like the iconic Búðakirkja provide a sharp, geometric contrast to the organic, flowing lines of the aurora. The clean lines of such buildings help guide the eye, giving the viewer a stable starting point.
- Natural Features: Basalt columns, such as those found on Reynisfjara beach, or the jagged, frozen edges of a glacier, act as natural leading lines. These textures add depth, drawing the viewer from the immediate foreground into the depth of the night.
- Scouting and Safety: Always scout your locations during the daylight hours. Night photography in Iceland is physically demanding, and the terrain can be treacherous due to loose scree, hidden crevasses, or rapidly changing weather. Use our comprehensive photography maps to identify accessible, safe vantage points that offer the best compositional potential before the sun sets.
Applying Night Photography Composition Rules in the Field
Adapting traditional **night photography composition rules** to the Icelandic wilderness is an exercise in intentionality. In darkness, you must simplify your frame to avoid the visual clutter that often plagues daytime landscape photography. The Rule of Thirds remains your strongest ally, but it must be applied with an awareness of the horizon. If the sky is the primary subject, place the horizon line lower to emphasize the celestial display. Conversely, if the terrain is the hero, place the horizon in the upper third to give the landscape room to breathe. Leading lines are essential in low light. A river reflection, a line of snow-dusted rocks, or even a pathway can serve as a bridge between the foreground and the aurora. Furthermore, do not fear negative space. The minimalist, snow-covered plains of Iceland provide a perfect canvas for the Milky Way, where the absence of detail in the foreground allows the complexity of the stars to take center stage. You must balance the weight of the dark, heavy earth against the light, ethereal glow of the sky to achieve visual harmony.Technical Considerations for Night Sky Composition
The technical execution of your composition is inextricably linked to your equipment choices. Managing the trade-off between focal length and light-gathering capability is a constant balancing act.- Focal Length: A wide-angle lens (14mm–24mm) is standard for capturing the vastness of the sky, but it can make your foreground elements appear smaller than they are. If you want to compress the scene—making a distant mountain appear larger behind a foreground subject—don't hesitate to use a 35mm or 50mm prime lens.
- Aperture and ISO: While you want as much light as possible (f/2.8 or wider), you must ensure your foreground is sharp. If your foreground is too close, you may need to stop down to f/4.0 to increase your depth of field, compensating with a higher ISO.
- Focus Stacking: In total darkness, achieving deep depth of field is difficult. The most reliable method is to take two separate exposures: one focused on the foreground (using a small LED light to illuminate the subject) and one focused on the stars at infinity. You can then blend these in post-processing to ensure both the immediate foreground and the distant stars are tack-sharp.