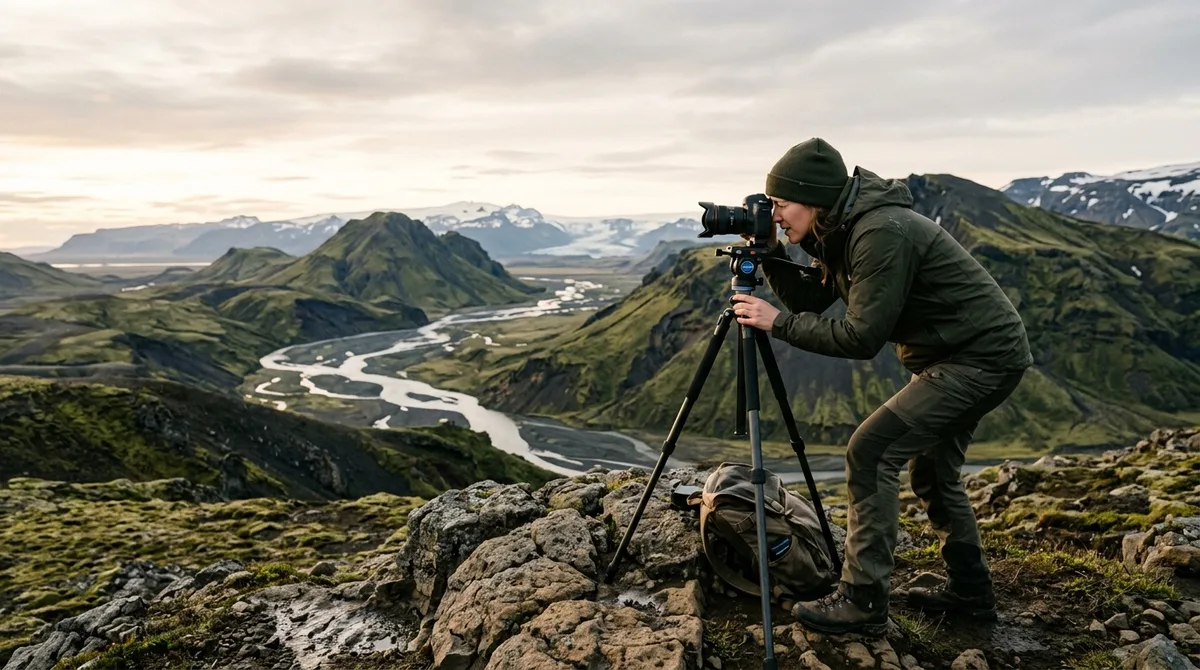
Mastering Iceland photography panorama techniques allows you to capture the sheer scale of the Arctic landscape, translating vast glacial tongues and expansive fjords into high-resolution images that a single frame simply cannot convey. By employing systematic stitching methods and precision gear, you ensure that the intricate textures of volcanic sand or the subtle layers of a distant ice cap remain sharp enough for large-format printing. This guide focuses on the technical precision required to document the Icelandic wilderness effectively.
Why Iceland Demands Specialized Panorama Techniques
The primary challenge in Icelandic landscape photography is the overwhelming scale of the environment. When standing before a feature like the Skógafoss waterfall or the sweeping black sands of Reynisfjara, a standard wide-angle lens often miniaturizes the subject, causing the grandeur to dissipate in the final image. Iceland photography panorama techniques solve this by allowing you to capture a much wider field of view while maintaining the resolution benefits of a longer focal length. Furthermore, Iceland presents extreme dynamic range challenges. The high-contrast light—often characterized by bright, reflective snow or glacial ice set against dark, basaltic rock—requires careful exposure management. By shooting multiple frames for a panorama, you gain the flexibility to employ exposure blending or HDR techniques during the stitching process, ensuring that highlights are preserved in the sky while shadows remain detailed in the foreground. For those looking to plan their trips, our comparison of photography guides helps you understand how to best prepare for these diverse lighting conditions.Essential Gear for Stitching Landscapes in the Field
To achieve professional-grade results, you must minimize parallax error, which occurs when the camera’s nodal point is not perfectly aligned with the axis of rotation. A standard ball head is rarely sufficient for this task. Instead, a dedicated panoramic tripod head, such as a gimbal or a specialized multi-row rotator, is often recommended by landscape professionals to allow you to slide the camera assembly forward or backward until the entrance pupil of your lens is centered over the rotation point. Beyond the head, your tripod must be capable of handling Iceland’s notorious wind. In exposed locations like the Highlands or the South Coast, even minor vibrations during a multi-frame sequence will ruin the alignment. Use a sturdy, carbon-fiber tripod without a center column if possible. Furthermore, when selecting a focal length, avoid ultra-wide lenses (under 24mm) for panoramas unless necessary, as they introduce severe barrel distortion that complicates the stitching process. A 35mm or 50mm lens is often the sweet spot for balance between detail and field of view. Using a longer focal length reduces the geometric distortion that stitching software must correct, leading to higher overall image fidelity.Mastering Iceland Wide Angle Composition for Panoramas
A successful panorama is not just about the width; it is about the story within the frame. In Iceland, the landscape can often feel empty or featureless if you do not anchor the composition. Always look for a strong foreground element—a moss-covered rock, a chunk of glacial ice, or a distinct geological formation—to lead the viewer’s eye into the image. When deciding on orientation, consider the verticality of your subject. Multi-row panoramas, where you shoot both a top and bottom tier of images, are often superior to a single horizontal sweep when you need to include both a towering mountain and a detailed foreground. This approach, often called mosaic stitching, provides a massive resolution boost. As you plan your itinerary, our database of locations provides researched briefs to help you identify these specific compositional opportunities before you arrive.Technical Settings for Consistent Stitching
Consistency is the cornerstone of a successful stitch. If your camera settings fluctuate between frames, the software will struggle to blend the edges, leading to visible banding or color shifts.- Manual Exposure: Lock your shutter speed, aperture, and ISO. Even if the light changes slightly across the scene, it is better to have a uniform exposure that you can adjust in post-production than an inconsistent one.
- Manual White Balance: Many professional photographers prefer to set a specific Kelvin value rather than relying on Auto White Balance (AWB) to ensure that the color temperature of the sky and shadows remains identical across all frames.
- Overlap: While requirements vary by software, a common recommendation is to aim for a many to many overlap. This provides the stitching software with sufficient distinct feature points to calculate the alignment accurately.
- Focus Stacking Integration: If you have a close foreground object and a distant mountain, you may need to focus-stack each frame of your panorama. This is an advanced workflow that requires significant processing power but produces unparalleled depth of field.
Navigating Iceland's Weather and Light
The weather in Iceland is notoriously volatile. A sequence of ten photos can take several minutes to shoot, and in that time, clouds can shift or light can change dramatically. Always check vedur.is for weather updates and road.is for current road status before venturing to remote locations. For additional safety and climate context, the Icelandic Meteorological Office provides extensive data on regional weather patterns that can help photographers anticipate rapid changes in visibility. When you identify a location that looks promising for a panorama, use our Iceland photography map to verify the coordinates and seasonal access notes. Every location in our database carries coordinates, category, and season, ensuring you have the data needed to make informed decisions about your shoot. If the wind is too high, it is often better to capture a high-resolution single frame than to risk a failed panorama stitch due to camera movement.Post-Processing Workflow: From RAW Files to Final Panorama
Once you return to your workstation, the software you choose is as important as the gear you used in the field. Tools like Adobe Lightroom or PTGui are the industry standards for stitching landscapes.| Feature | Lightroom Classic | PTGui Pro |
|---|---|---|
| Ease of Use | High (Integrated) | Moderate (Requires Learning) |
| Control over Projections | Limited | Extensive (Spherical/Cylindrical) |
| Ghosting Removal | Basic | Advanced |