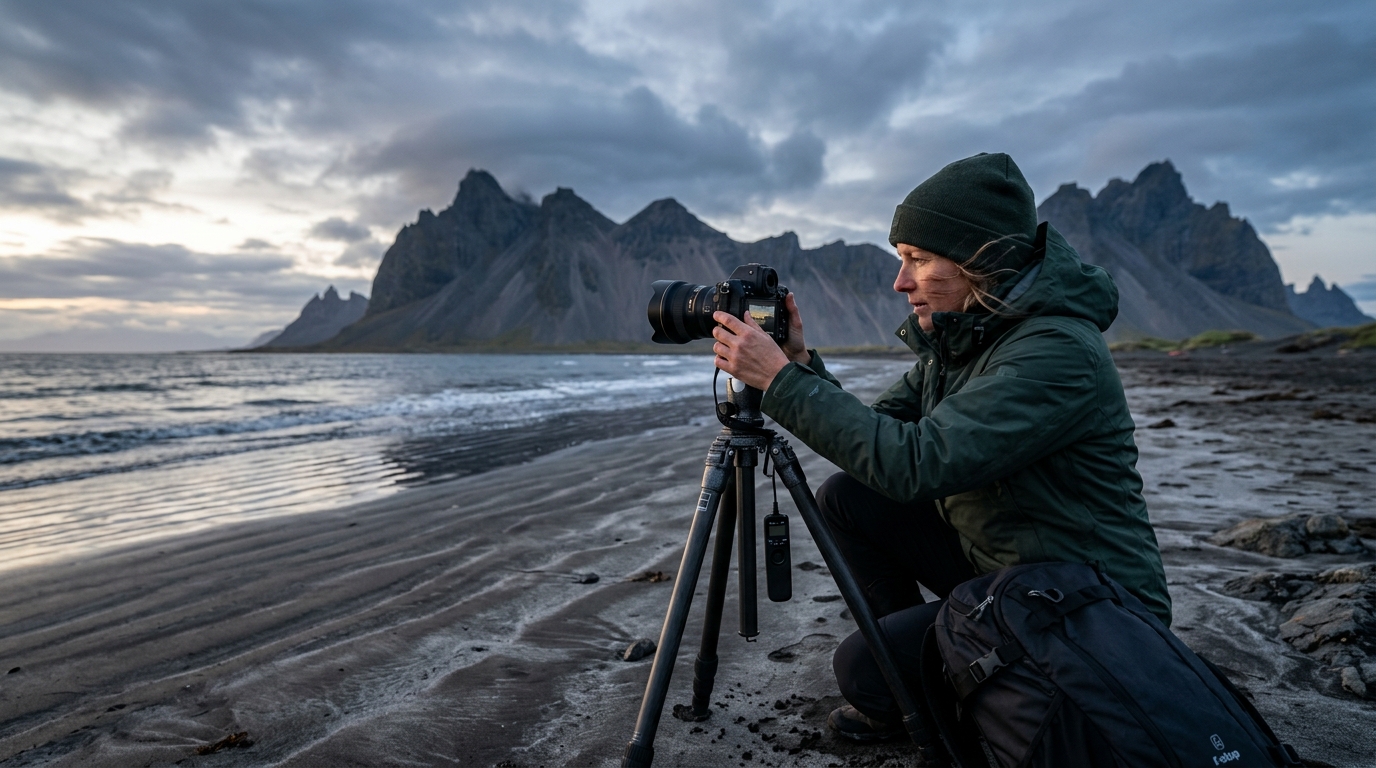
To capture professional-grade motion sequences in the Arctic, you must master specific Iceland photography time-lapse settings that account for the country's extreme weather, shifting light, and high-contrast landscapes. By dialing in the correct intervals, exposure modes, and mechanical protections, you can transform the dynamic Icelandic environment into smooth, cinematic transitions.
Why Iceland Demands Specialized Time-Lapse Settings
Iceland presents a unique set of variables that render standard "set-it-and-forget-it" time-lapse techniques ineffective. The primary challenge is the volatility of the atmosphere. In many regions, you are dealing with rapid cloud movement, shifting fog, and sudden changes in ambient light that can occur in a matter of minutes.
The high dynamic range (HDR) of the Icelandic landscape is another significant hurdle. You are often trying to balance the intense brightness of a glacial river or a snow-capped peak against deep shadows in a basalt canyon. Standard auto-exposure settings will struggle to navigate these extremes, leading to "flicker"—the distracting pulsing effect in a sequence caused by the camera constantly adjusting exposure between frames. based on Adobe’s official documentation on time-lapse photography, using manual exposure is the industry-standard method to prevent this brightness inconsistency.
Furthermore, standard settings often fail because they ignore the specific Arctic environmental constraints. The wind speeds in Iceland, particularly near coastal areas or high-altitude plateaus, can be fierce. A standard interval setup that works in a calm, temperate climate will likely result in blurred, unusable footage if your tripod is vibrating or your shutter speed is too long for the wind conditions. To understand how camera sensors behave under these specific high-contrast, high-latitude conditions, refer to the technical performance documentation provided by DPReview regarding sensor dynamic range and noise performance.
Core Iceland Photography Time-Lapse Settings for Landscapes
Choosing the right exposure mode is the foundation of a successful sequence. For consistent results, manual mode is recommended for most static lighting scenarios. By locking in your shutter speed, aperture, and ISO, you ensure that every frame is identical, which is the most reliable way to avoid flicker in your final edit.
If you are shooting during a time of day where light is changing—such as sunrise or sunset—you may consider Aperture Priority. However, this requires a "Holy Grail" workflow, where you use a ramping tool to smooth the exposure transitions. For most landscapes, stick to these core settings:
- Aperture: Set to f/8 or f/11 to maintain a deep depth of field and optimal lens sharpness.
- ISO: Keep this as low as possible (ISO 100 or 200) to minimize digital noise.
- Shutter Speed: This should be at least double your interval if you want natural motion blur, or shorter if you want to emphasize the "staccato" movement of fast-moving clouds.
- White Balance: Lock this to a specific Kelvin value (e.g., 5500K for daylight). Using Auto White Balance can cause the camera to shift the color temperature between frames, which may create a flickering effect that is difficult to correct in post-production, as noted in technical guides from B&H Explora.
When scouting your next shoot, use our Landscape Photography Map to identify locations where these settings will yield the best results, such as the dramatic vistas at Dyrhólaey.
Technical Considerations for How to Shoot Time-Lapse in Iceland
Beyond the camera settings, your physical preparation is critical. Battery management is a common point of failure for photographers in the North. Even in summer, the ambient temperatures can drop significantly, especially when you are standing still for two or three hours. Lithium-ion batteries often experience reduced performance in cold, damp conditions, a phenomenon documented by National Park Service technical guides on cold-weather photography.
Carry extra batteries, or utilize an external power bank system (dummy battery) to power your camera via USB-C or a dedicated DC coupler. This prevents you from having to touch the camera to swap batteries, which risks bumping the tripod and ruining the continuity of your shot.
Protecting your gear from the elements is equally important. At locations like Dettifoss or Dynjandi, the spray from the water is constant. A simple rain cover is often insufficient; you need a dedicated weather-sealed housing or a high-quality microfiber cloth to wipe the front element between every few frames. For further guidance on navigating these specific sites, visit our how-to guide for shooting in extreme environments.
Optimizing Time-Lapse Interval Settings for Landscapes and Waterfalls
The interval is the most important factor in determining the "speed" of your final video. If you are shooting a massive, slow-moving cloud bank over a mountain range, you need a longer interval to show the movement. If you are shooting a rushing river or the spray of a waterfall, you need a much shorter interval to capture the fluidity of the water.
When considering Iceland photography time-lapse settings for intervals, remember that the interval is the time between the start of one exposure and the start of the next. If your shutter speed is 2 seconds, your interval must be at least 3 seconds to allow the camera to write the data to the card. Failing to account for this buffer will cause the camera to skip frames, resulting in a stuttering effect in your final sequence.
Advanced Techniques: Holy Grail Time-Lapse in the Midnight Sun
The "Holy Grail" of time-lapse photography refers to capturing a sequence that transitions from day to night (or vice versa) without any jumps in exposure. In Iceland, this is particularly challenging during the summer months when the sun stays low on the horizon for hours, creating a perpetual "golden hour" that shifts in intensity.
To master this, you need an intervalometer that supports exposure ramping. The goal is to gradually increase your exposure time or ISO as the light fades. Modern cameras often have internal intervalometers that can handle basic ramping, but for professional results, specialized external controllers are preferred.
Using a Neutral Density (ND) filter is essential when the light is too bright for the long exposures required for smooth motion. However, as the sun dips lower, you must be prepared to remove the ND filter mid-sequence. This is a high-risk operation; if you move the camera during this process, the sequence is ruined. Practice your filter-swapping technique before the actual shoot begins.
Scouting the Best Locations for Motion Photography
Iceland is a playground for motion, but not all locations are created equal. You need a composition that features both a static subject (like a church or a mountain) and a dynamic element (like clouds, water, or birds).
When using our Iceland Photo Map, look for locations that offer foreground interest. A time-lapse of a waterfall is visually interesting, but a time-lapse of a waterfall framed by the unique architecture of a site like Búðakirkja provides a sense of scale and story.
Safety is paramount when setting up for long sequences. In high-wind areas, your tripod is a sail. Hang your camera bag from the center column to add weight, and if the wind is extreme, lower your tripod legs to their widest, lowest position. rarely leave your gear unattended, especially near cliff edges or fast-moving water.
Post-Processing Your Iceland Time-Lapse Sequences
Once you have returned from the field, the work continues in post-production. Even with manual settings, micro-flickering can occur due to aperture inconsistencies in the lens. Use a deflickering plugin to analyze the brightness levels of your images and smooth out the transitions.
Color grading is where you give your footage that "Icelandic" look. Focus on cooling down the shadows and maintaining the natural, desaturated greens and blues of the landscape. Avoid over-saturating the output, as this can lead to banding in the sky. When exporting your final cinematic output, prioritize a high-bitrate codec like ProRes 422 to ensure that the subtle gradients in the Icelandic sky are preserved without artifacts. Source: Apple source.
Frequently Asked Questions
What is the best interval for shooting clouds in Iceland?
For typical, moderate-speed clouds, a 5-second interval is a great starting point. If the clouds are moving rapidly across a mountain pass, shorten the interval to 3 seconds. If the sky is very calm, you may need to extend the interval to 8 or 10 seconds to see any noticeable motion in the final video.
Should I use manual or auto exposure for time-lapses?
You should almost often use manual exposure. Auto exposure will cause your camera to adjust settings based on the brightness of the scene in every frame, which creates a flickering, pulsating effect that is difficult to fix in post-production.
How do I prevent my camera from freezing during a long time-lapse?
The best way to prevent battery drain is to use an external power source, such as a large-capacity USB-C power bank connected via a dummy battery. This keeps the camera running without relying on its internal, cold-sensitive battery. Additionally, keep your camera in a weather-sealed bag when not in active use to maintain a more stable temperature.
Do I need an ND filter for daytime time-lapses in Iceland?
Yes, a Neutral Density (ND) filter is highly recommended for daytime shoots. Because you want to use a relatively long shutter speed to create smooth motion blur in waterfalls or clouds, you will often find that the scene is too bright to achieve this without overexposing your image, even at the lowest ISO and smallest aperture.
Ready to capture your own cinematic sequences? Explore our curated photography maps to find the perfect locations for your next time-lapse project.